Introduction to Trezor Wallets
Trezor wallets are hardware wallets designed to secure your cryptocurrencies offline. They keep private keys away from hackers and online threats. Using Trezor with Trezor Suite or supported apps ensures your funds remain secure, while giving you full control of your digital assets.
Whether you’re storing Bitcoin, Ethereum, or other cryptocurrencies, following this guide will help you set up your device safely and efficiently.
Step 1: Unbox Your Trezor Device
Carefully remove your Trezor device from the packaging. Ensure all components are included:
- The Trezor device itself (Model One or Model T)
- USB cable
- Recovery cards
- Quick start guide
Step 2: Connect Trezor to Your Computer
Use the provided USB cable to connect the Trezor device to your computer. The device will power on automatically.
Ensure you are in a safe and private environment. Avoid public computers or untrusted networks during setup. 🔒
Step 3: Visit Trezor.io/Start
Open your web browser and navigate to https://trezor.io/start. This is the official setup page for Trezor devices.
Follow the instructions to download Trezor Bridge, which allows your browser and Trezor device to communicate.
Step 3a: Install Trezor Bridge
Download the software version suitable for your operating system. Once installed, refresh the browser to detect your Trezor device.
Step 4: Initialize Your Device
You will be prompted to either:
- Create a new wallet
- Recover an existing wallet
Follow the on-screen prompts to set up a PIN and generate your recovery seed.
Step 4a: Set a PIN Code
Choose a secure PIN. The PIN protects the device in case it is lost or stolen. Do not write it down digitally.
Step 5: Backup Your Recovery Seed
The Trezor device generates a 24-word recovery seed. This seed is the key to your funds.
- Write the words on the provided recovery cards.
- Store the cards in a secure, offline location.
- Never take a photo or store it online.
Step 6: Confirm Setup Completion
Once your PIN and recovery seed are set, the device is ready to use. Access your wallet via Trezor Suite or compatible crypto apps.
Perform a small test transaction to verify everything works as expected.
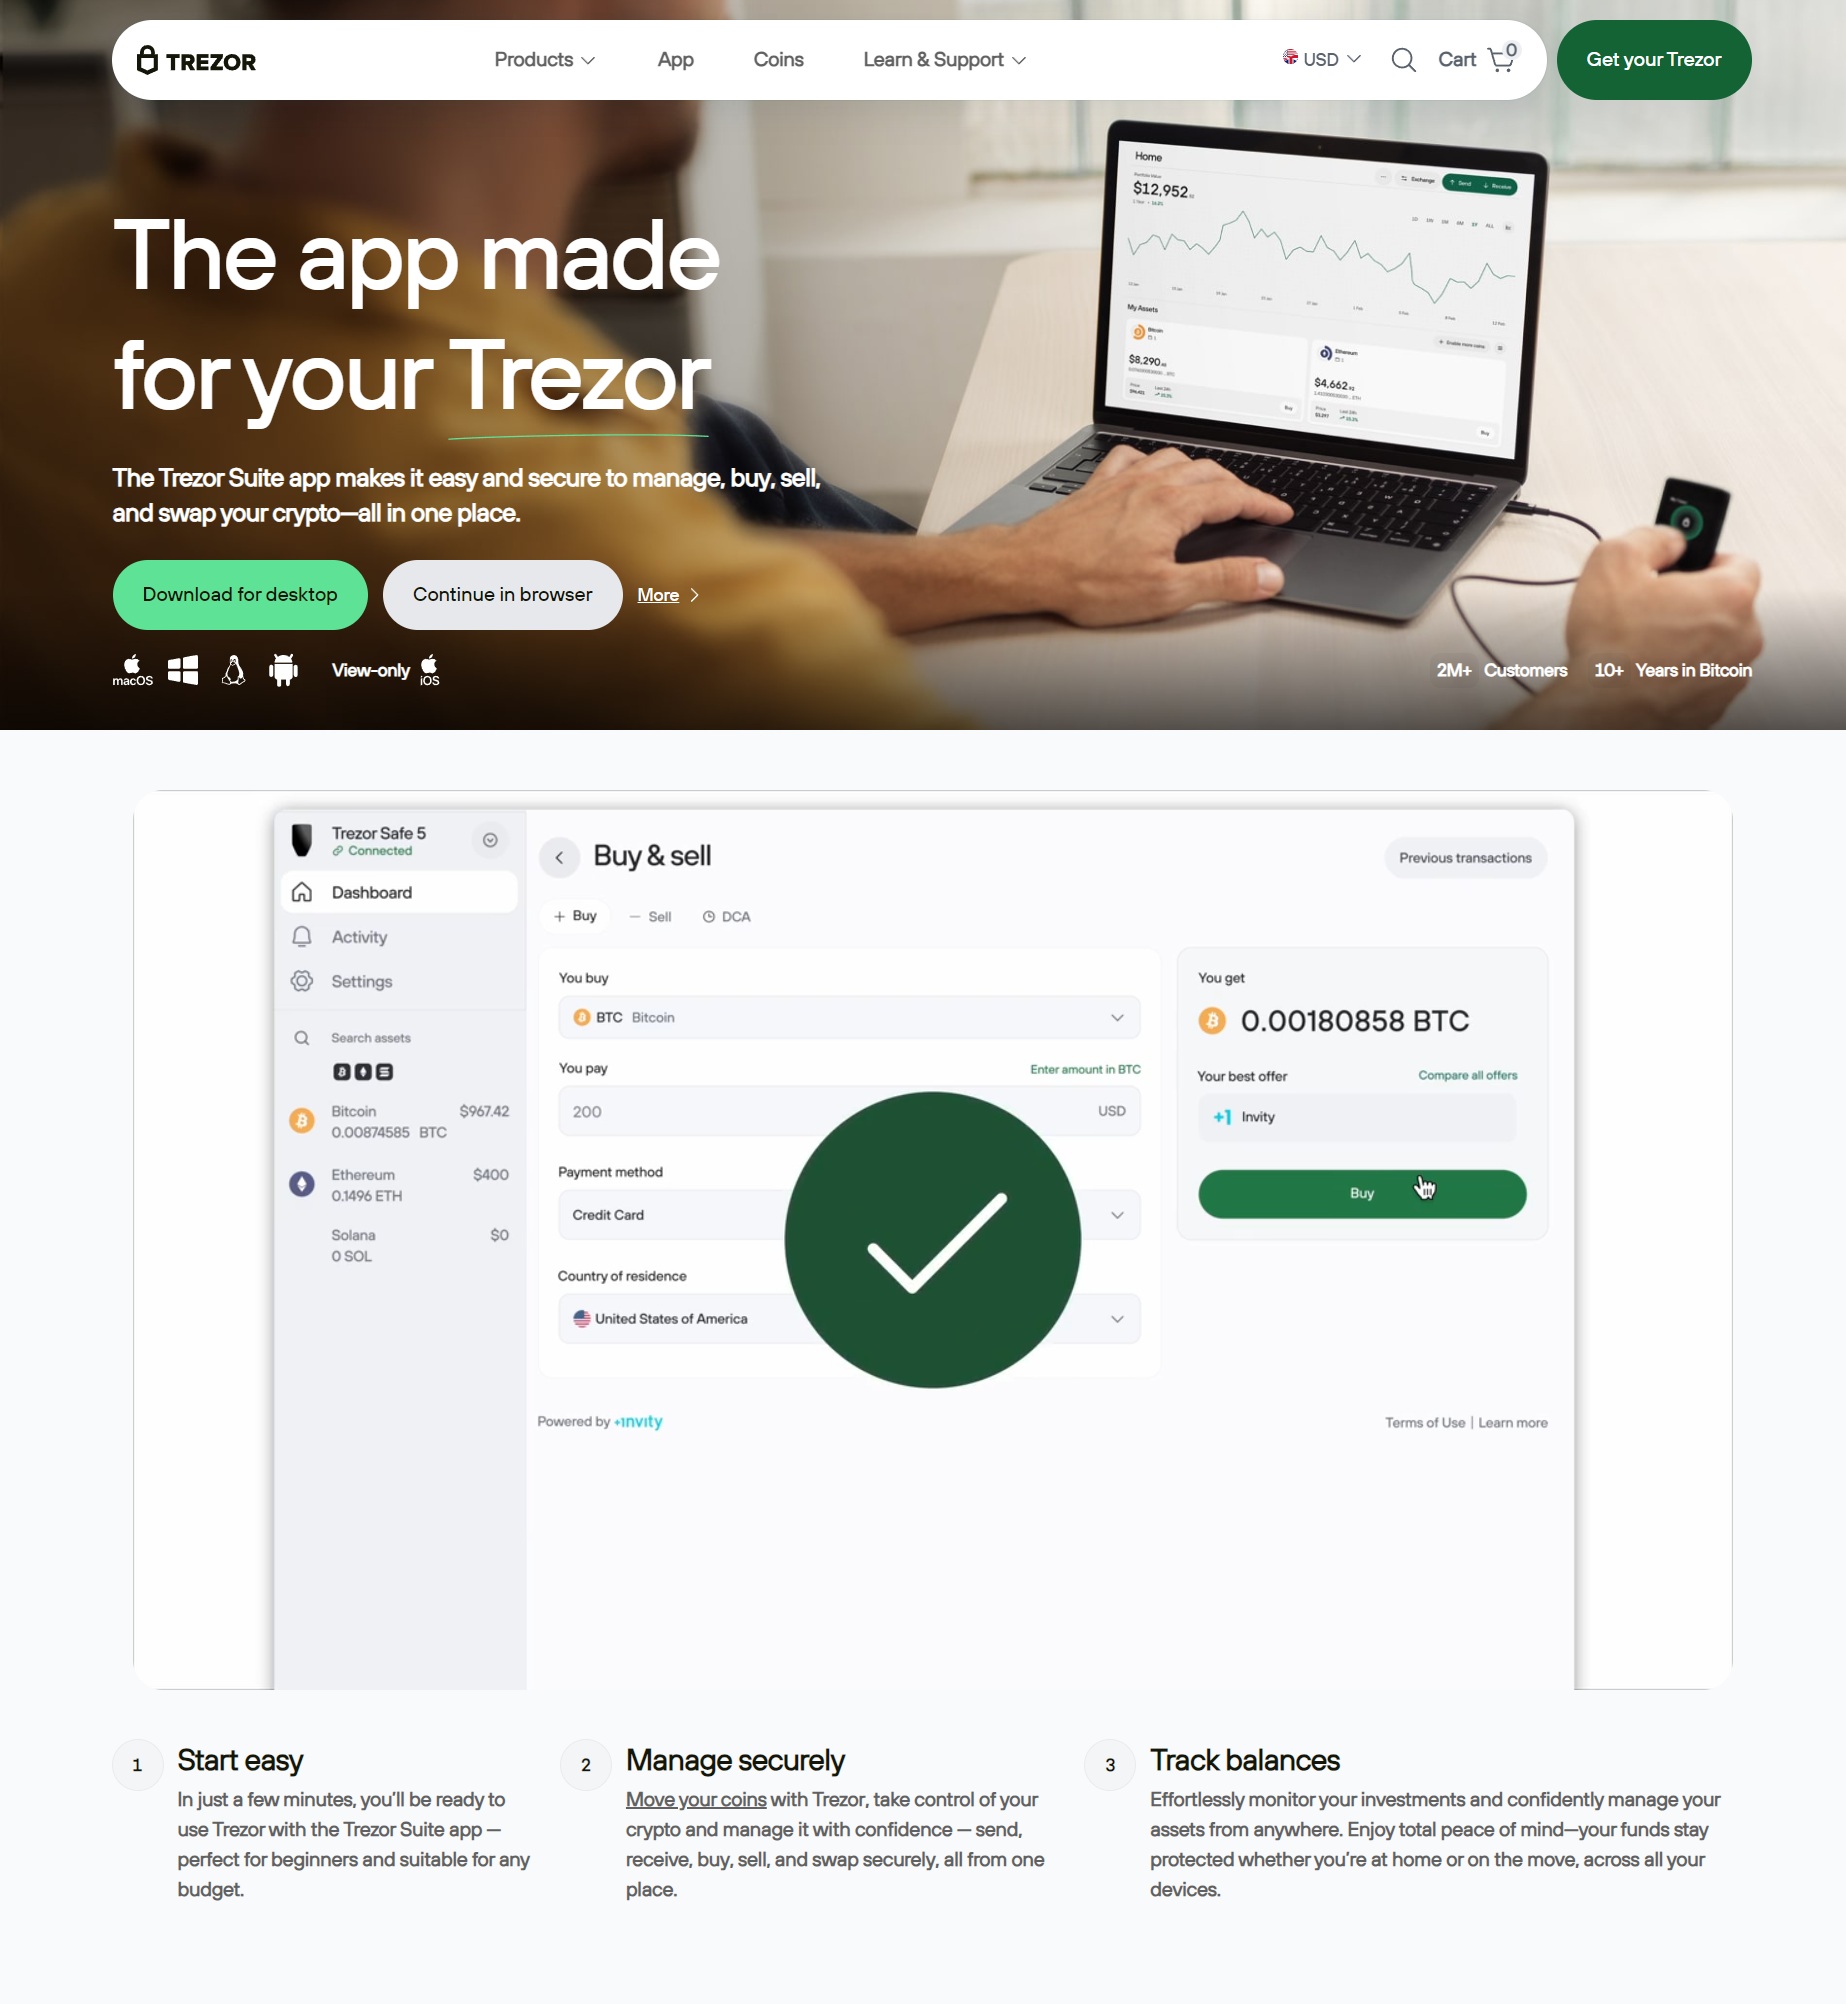
Step 7: Installing Trezor Suite
Trezor Suite is the official desktop app to manage accounts, transactions, and settings.
- Download Trezor Suite from suite.trezor.io.
- Install and open the app.
- Connect your Trezor device and log in using your PIN.
Step 8: Security Best Practices
- Never share your recovery seed.
- Always confirm addresses on the device screen.
- Keep your device firmware updated.
- Use official Trezor apps and avoid third-party downloads.
Step 9: Advanced Features
Once your wallet is set up, you can explore features like:
- Multi-asset management
- Staking and DeFi integration
- NFT management
- Passphrase-protected accounts for extra security
Troubleshooting Tips
Device Not Detected?
Ensure USB cable is connected properly. Restart Trezor Bridge and refresh your browser.
App Crashes or Freezes
Update Trezor Suite and firmware. Clear browser cache if using Trezor Web Wallet.
Final Words
Following these steps ensures your Trezor wallet is set up securely. By safeguarding your recovery seed, setting a PIN, and using official applications, you can manage your crypto confidently.
Always stay vigilant against phishing attempts, and confirm transactions on the device itself. Happy hodling! 🚀
Start Your Trezor Setup Now